

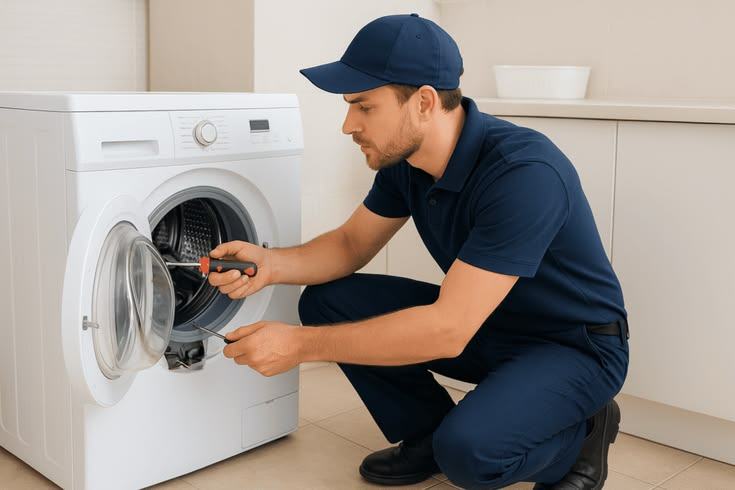
A dryer that tumbles but produces no heat can have a selected air-only cycle, a power or gas-supply issue, or a component fault. Start with the setting and airflow checks you can make safely. If clothes stay wet, the machine overheats, or you notice a burning smell, stop using it and arrange a diagnosis rather than running repeated cycles.
This guide is for San Diego households with vented electric or gas dryers. We explain the difference between no heat and slow drying, safe checks, when a technician is needed, and how to compare repair with replacement. Contents: symptom identification; a step-by-step checklist; a decision table; safety and cost factors; and frequently asked questions.
No heat and slow drying are different problems
A dryer needs heat, tumbling, and moving air. Heat evaporates moisture; airflow carries that moisture out through the vent on a vented dryer. If the drum turns but clothes remain as wet as when they entered, the heating system may not be operating. If clothes become warm but need multiple cycles, restricted airflow, load size, or a moisture-sensing issue may be more likely. Both deserve attention, but they call for different tests.
Whirlpool’s official dryer troubleshooting guidance says an Air Only or Air/Fluff setting does not add heat. It also notes that when a dryer heats but takes too long, the venting path is a key area to inspect. The exact cycle names and diagnostic steps depend on your model. Do not conclude that a heating element or igniter has failed merely because a cycle ended with damp clothes.
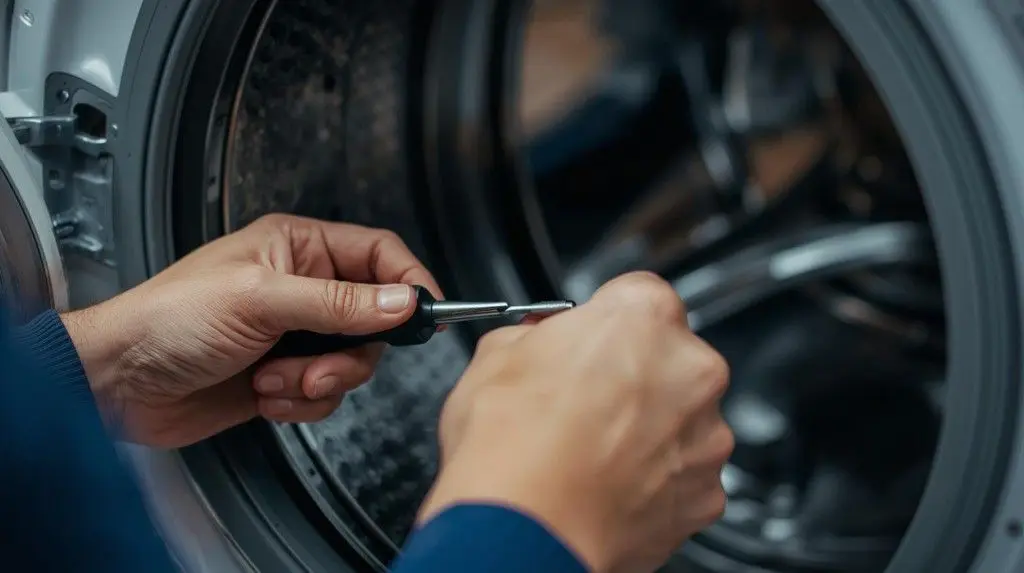
Make safety the first check
If you smell burning, see smoke, or find a damaged cord or outlet, turn the dryer off and disconnect power if it is safe to do so. Do not run another cycle to see whether the smell disappears. If you suspect a natural-gas leak, leave the area immediately and call 911 or San Diego Gas & Electric from a safe location, as SDG&E advises. Do not operate switches or the appliance while investigating a possible leak.
The U.S. Fire Administration recommends cleaning the lint filter before or after every load, keeping the area around the dryer clear, checking that the vent behind it is not crushed or restricted, and confirming that the outdoor vent flap opens during operation. Those measures reduce avoidable airflow hazards. They do not make it safe to ignore overheating, damaged wiring, or a recurring burning odor.
A practical no-heat checklist
1. Verify the selected cycle
Choose a heated timed cycle that your manual identifies as adding heat. Air-only, fluff, and some delicate settings may not heat in the way you expect. Run the test as the manufacturer describes, with the door shut and a small or empty drum if allowed. Note whether the drum turns and whether you detect warmth after the specified test period. Do not reach into moving parts or remove covers during operation.
2. Check the visible power conditions
An electric dryer’s motor may run even when a heating circuit lacks its required supply. Whirlpool advises checking the household circuit breakers for an electric model. If a breaker has tripped, follow safe electrical practice and the manual; a breaker that trips again needs an electrician or qualified technician. Never use an extension cord to compensate for a questionable outlet. Do not open the dryer terminal block or probe live voltage yourself unless you are trained and equipped for that work.
3. For a gas model, verify only safe external conditions
Confirm that the appliance is a gas dryer and that the supply was not intentionally turned off. If you are unsure which valve serves it, leave the line alone and ask a professional. A drum that turns without heat can reflect a closed supply valve, but it can also involve an igniter, sensor, control, or other fault. Do not disconnect a gas line or try repeated ignition attempts to “force” heat.
4. Inspect the lint filter and visible vent
Remove lint from the filter, then inspect the visible transition duct behind the dryer for crushing or sharp bends. From outside, check whether the exhaust hood opens when the dryer runs. A closed flap or weak discharge may indicate an obstruction, but the full duct can contain hidden buildup. If the vent is hard to reach or cannot be cleaned as the manual permits, use a qualified vent-cleaning service. Avoid running a vented dryer with its exhaust deliberately routed into the room.
5. Observe the load and timing
A tightly packed drum limits tumbling and exposes clothes unevenly to moving air. Separate very heavy items from light fabrics when appropriate, and use the model’s recommended load size. Keep a simple record: cycle setting, load type, whether the drum turns, whether the interior warms, whether the outside vent opens, and how damp the load remains. Those details make a professional diagnosis faster than “dryer doesn’t work.”
Compare symptoms before buying a part
| Symptom | First question | Appropriate next step |
|---|---|---|
| Drum turns, air stays cold | Was a heated cycle selected? | Check model-specific power or gas guidance, then seek component diagnosis |
| Clothes are hot but damp | Is the lint screen clean and vent discharge strong? | Investigate airflow and load size |
| Dryer stops mid-cycle | Is there overheating, an error code, or a power interruption? | Stop repeat attempts and document the pattern |
| Burning smell or smoke | Can the dryer be turned off safely? | Stop use and arrange qualified inspection |
For example, a blocked vent may lengthen drying time even if the heater works; installing a new heater would not solve the airflow restriction. Conversely, cleaning a lint filter cannot restore a failed heating component. The table helps choose the next investigation, not a replacement part.
Repair, vent cleaning, or replacement?
Start with the diagnosis. A control-setting correction, vent cleaning, thermostat, igniter, heating element, or control repair each has a different cost and consequence. Ask for an itemized estimate covering diagnosis, parts, labor, and warranty. A duct cleaning quote should state which part of the vent path is included and whether the outdoor termination will be checked. A repair quote should explain how the technician verified the failed component and confirmed safe operation afterward.
Compare the total repair cost with a suitable replacement that fits the laundry space and vent arrangement. Include delivery, installation, removal, and any required electrical, gas, or vent changes. Check whether the appliance or part remains under warranty. A repair may be sensible when the dryer has otherwise been reliable and the part is available. Replacement may make more sense when major components are failing repeatedly or the installed new price is close to the repair. No blanket age or percentage rule decides every case.
In San Diego, use the site’s dryer repair page to request an appliance diagnosis. If water remains in the paired washer, that is a separate issue covered by washer repair service. Describe the model and the exact heat/airflow symptom when booking. Pricing depends on the particular fault; a universal local quote would be misleading. If the paired washer holds water, read the washer not draining troubleshooting guide.
How to confirm the dryer is working again
After a vent cleaning or repair, use a heated cycle recommended by the manufacturer and a representative, not overloaded, load. Confirm that the dryer heats appropriately, finishes without abnormal shutdown, and leaves clothes dry without an unusual smell. Observe the outdoor flap when possible and check that it opens while the dryer runs. If a technician worked on the machine, ask what was tested and retain the part and labor warranty information.
Continue cleaning the lint screen every load. Watch for gradual increases in drying time, unusually hot laundry-room air, lint around the outdoor hood, or a crushed duct after moving the dryer. These are signals to reassess airflow before a small performance issue becomes a safety problem. An apparently successful empty-cycle test is less persuasive than normal operation with the kind of laundry that originally exposed the fault.
Common errors to avoid
Running extra cycles while the vent is blocked: the delay increases energy use and may increase fire risk. Stop and inspect airflow. Replacing a heater from a symptom alone: power, controls, and venting can produce similar complaints. Get the component tested. Ignoring gas odor: leave the area and call from a safe place. Using an extension cord: follow the appliance’s approved electrical installation. Assuming “hot” means “drying well”: moisture must also leave through the vent.
Frequently asked questions
Why does my dryer spin but not heat?
An air-only setting, missing heating supply, or an internal component fault can cause it. Verify the cycle and external supply conditions before arranging diagnosis.
Can a clogged vent stop a dryer from heating?
Restricted airflow can trigger protective behavior on some models and commonly causes long dry times. The exact effect varies, so inspect the vent and test the dryer.
How often should I clean the lint filter?
The U.S. Fire Administration advises cleaning it before or after every load. Follow your model’s additional maintenance guidance for the duct and cabinet.
Why are clothes warm but still damp?
Heat is present, but poor airflow, overloading, or a sensing problem may leave moisture behind. Check the lint screen, vent discharge, and load size.
Should I reset the breaker again?
A single check may identify a tripped breaker. If it trips again, stop using the dryer and have the circuit or appliance assessed; do not keep resetting it.
Is it safe to run a dryer with a burning smell?
No. Turn it off, disconnect power if safe, and request an inspection before another cycle.
Can I replace a heating element myself?
Only if you can positively diagnose the fault and follow the model’s electrical service procedure safely. Otherwise, qualified repair is the sounder choice.
When is a new dryer a better choice?
Consider replacement when several major faults recur, the correct parts are unavailable, or the complete repair cost is close to the installed cost of a suitable new unit.
Next step
Identify whether the dryer is cold or merely slow, then check the cycle, external supply, lint screen, and visible vent. Stop immediately for gas odor, smoke, or burning smell. If the symptom persists, request a diagnosis with your model number and observations, then compare a documented repair with full replacement cost.