

If a washer finishes with water in the drum, start by stopping the cycle and protecting the floor. Then check the selected program, load balance, drain hose, and any user-accessible pump filter described in your owner’s manual. A washer that hums but cannot drain, leaks, or repeatedly stops needs a fault diagnosis rather than another blind restart.
This guide is for San Diego households with a front-load or top-load washer. It explains what draining does, how to make safe checks, and when repair is more sensible than replacing the machine. Contents: immediate steps; a practical checklist; symptom comparison; repair decisions; prevention; and frequently asked questions.
What the drain phase actually does
At the end of a wash or rinse, the drain pump sends water through a hose into the home’s standpipe or laundry sink. The machine may wait to spin until it senses that enough water has left. Therefore “not draining” and “not spinning” can be linked, but they are not interchangeable diagnoses. A heavy, unbalanced load can also prevent a spin even when the pump works. Note exactly when the cycle stops and whether water remains in the drum.
Whirlpool’s washer troubleshooting guidance identifies a kinked or obstructed drain hose, drain-system blockage, excessive suds, and a pump filter on applicable models as useful checks. These are broad possibilities, not proof that a specific part has failed. Follow the installation and service directions for your own model; hose height and filter location are not universal.
Start with water and electrical safety
Do not force open a locked front-load door while water sits above its lower edge. Turn the washer off, unplug it if the plug is dry and accessible, and keep children away from pooled water. If water is escaping near an outlet or wiring, avoid standing in the wet area and have the power made safe before touching the appliance. Put towels and a shallow tray near any filter access point; the filter can release more water than expected. If a supply hose is leaking, close the appropriate supply valve.
Document the symptom before draining the machine: take a picture of an error code, record the cycle, and note whether the drum was unusually full. This gives a technician a useful starting point. Do not put a hand into a running machine, open electrical housings, or bypass the door lock to test it.
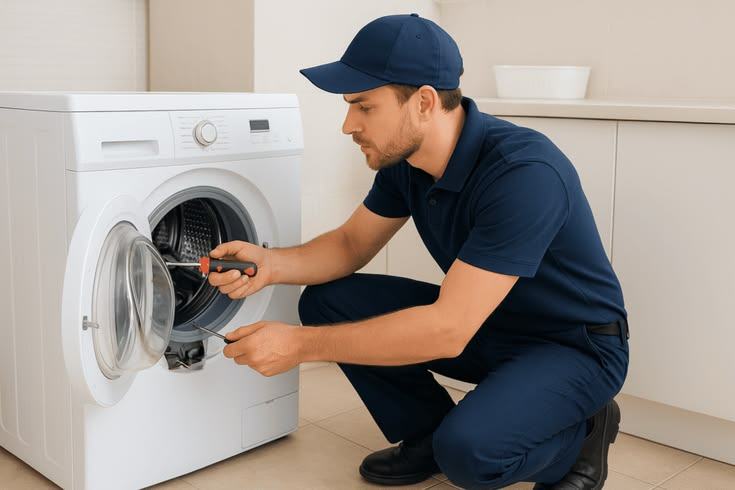
Five checks to make in order
1. Rule out a program or load issue
Check whether you selected a soak, rinse-hold, delicate, or no-spin option that intentionally leaves water or limits spinning. Consult the control-panel guide rather than guessing from an icon. If the load is bunched on one side, redistribute it only after the machine has stopped and the door can be opened safely. Try the model’s drain-and-spin program with a modest balanced load. If water still remains, move to the drain path.
2. Examine the visible drain hose
Look behind the machine for a sharply bent, pinched, or crushed hose. Check that the hose has not been pushed too far into the standpipe or fallen onto the floor. Keep the installation height and insertion depth specified by the manufacturer; a generic measurement from another brand may cause siphoning or poor drainage. If you move the machine, do so carefully to avoid damaging water lines or the floor. Do not disconnect a full hose without a plan to contain its water.
3. Check the household drain
If water backs up from the standpipe or laundry sink while the washer pumps, the obstruction may be in the building plumbing rather than in the appliance. Stop the cycle to prevent an overflow. A plumber may be the right professional when multiple fixtures drain slowly or the standpipe visibly overflows. Replacing a washer pump will not clear a blocked household pipe.
4. Clean a user-accessible filter only if your model has one
Some front-load washers have a small access door and drain-pump filter; others do not. Consult the manual for the correct procedure. Use the emergency drain hose, if supplied, to lower the water level into a shallow container before opening the filter. Remove lint, coins, or hairpins that are plainly accessible, check the seal for damage, and reinstall the filter firmly. Do not reach beyond the filter opening or remove a service panel. Run a short drain test and watch for leaks.
5. Consider detergent and error codes
Too much detergent, or the wrong detergent for a high-efficiency model, may create excess suds that interfere with sensing and draining. Use the label and washer manual to choose the correct product and dose; the best amount also depends on load size and water conditions. If the display shows a code, look it up in the model’s manual. A code narrows the investigation but does not automatically identify a part to replace.
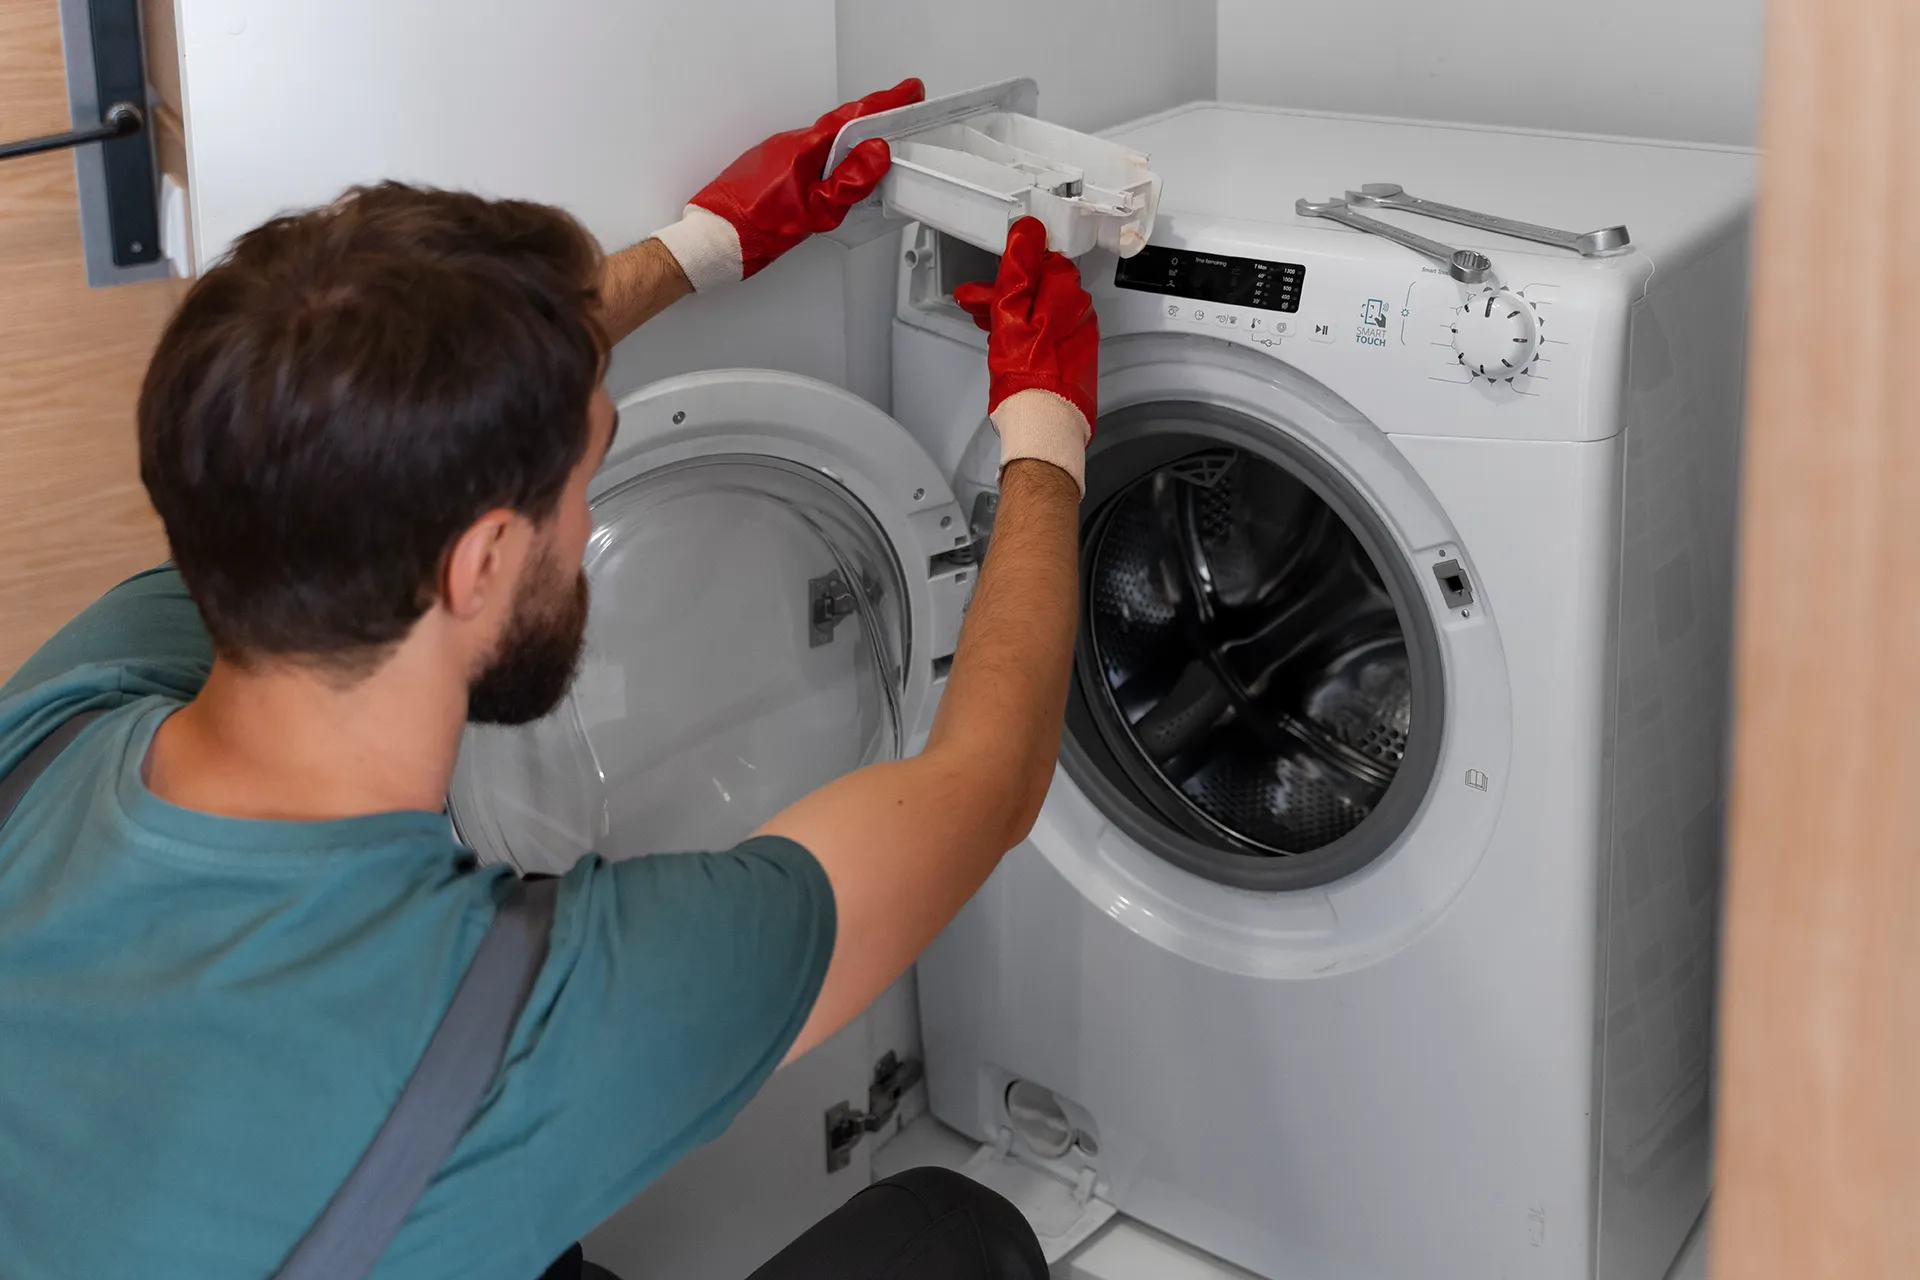
Compare the symptoms before choosing a repair
| What you notice | First useful observation | Likely next step |
|---|---|---|
| Water remains, pump is silent | Program, error code, door lock, power | Professional electrical/control diagnosis if a drain cycle will not start |
| Pump hums, water does not leave | Hose, accessible filter, standpipe | Stop repeated attempts; inspect pump and drain path |
| Standpipe overflows | Water rises from household drain | Address plumbing blockage |
| Washer drains but will not spin | Load balance and selected speed | Investigate spin or sensing fault if it repeats |
These patterns guide the next check; they are not a substitute for testing. A small garment lodged in the pump, for example, can mimic a failed pump. A machine that drains slowly may also have a partly restricted hose. Ask a technician to show the cause and the test result before authorizing a part replacement.
When to repair, and when to consider replacement
A blocked filter or corrected hose position costs less to address than a motor, control, or tub-related failure. Get an itemized diagnosis that separates the visit charge, parts, labor, and warranty. Compare that total with the installed price of a suitable new washer, including delivery, removal, and any required plumbing or electrical work. The age of the machine matters, but it is not the only factor: a well-maintained older washer with an available pump part may be worth repairing, while a newer unit with repeated leaks may not be.
Ask whether the part is available for your exact model and how long the repair is expected to take once it arrives; do not accept a guessed completion date as a guarantee. Check any manufacturer or retailer warranty before paying for a repair. If the fault affects both washing and drying equipment in the same laundry space, use the site’s washer repair service and dryer repair service pages to identify the correct service request. Describe the symptom for each appliance separately. For a separate dryer heat problem, see the dryer not heating troubleshooting guide.
A decision is worthwhile when it restores reliable operation at a cost you understand. There is no honest universal San Diego washer-repair price: access, model, parts, and the actual cause change the estimate. Ask the provider whether the quoted work addresses the drain failure itself and whether testing after repair is included.
Confirm the result and prevent a repeat
After cleaning an accessible filter, correcting a hose, or completing a repair, run the manufacturer’s recommended test cycle. Confirm that the washer empties, reaches spin, and does not leak at the filter, hose, or standpipe. A single empty drain test is useful, but a normal laundry load is a better check of the original complaint. If the problem was intermittent, note how many ordinary cycles pass without the symptom and keep the service paperwork.
Empty pockets, use the correct detergent, avoid packing the drum tightly, and check the visible hose after moving the appliance. Follow the manual’s filter-maintenance schedule if it has an owner-cleanable filter. These habits can reduce avoidable clogs, but they cannot prevent every pump or control failure. A recurring code or slow drain deserves investigation rather than increasingly frequent resets.
Common mistakes to avoid
Restarting the same failed cycle repeatedly: the machine may add water or extend a leak. Stop and identify what phase failed. Pulling a filter without draining first: this can flood the floor; use the manual’s emergency drain steps. Assuming every no-spin event is a pump failure: an unbalanced load or selected program may be responsible. Buying a pump by appearance: part fit and electrical rating depend on the exact model. Ignoring the standpipe: appliance repairs cannot fix a household drain obstruction.
Frequently asked questions
Why is there still water in my washer after a cycle?
The cycle may have paused, the load may be unbalanced, or water may be blocked in the hose, filter, pump, or household drain. Check the program and visible drain path first.
Can I run a drain-and-spin cycle again?
One controlled attempt can help after you correct a simple setting or load issue. Stop if water backs up, the pump only hums, or a leak appears.
Do all washers have a drain-pump filter?
No. Filter access varies by model. Use the owner’s manual rather than opening a panel based on another washer’s instructions.
Why does my washer drain but not spin?
Load balance, spin selection, door-lock sensing, or another spin-system fault may be involved. Draining alone does not prove the rest of the cycle is healthy.
Could too much detergent cause a drain error?
Excess suds can interfere with some washers’ sensing and operation. Follow the product label and your model’s detergent instructions.
Should I replace the pump myself?
First confirm the fault and exact part. Pump replacement involves water and electrical connections; use qualified service if you are not trained to work on them.
Is an overflowing standpipe a washer problem?
Often it indicates restricted household plumbing. Stop the machine and have the drain assessed, especially if other fixtures also drain slowly.
What should I tell a repair technician?
Provide the model number, error code, cycle stage, whether the pump makes noise, whether the standpipe overflows, and any checks already completed.
Next step
Make the water and power situation safe, then check the program, load, visible hose, household drain, and any owner-accessible filter in that order. If the washer still holds water, request a diagnosis and compare an itemized repair estimate with the full cost of replacement.